How to Set Up Custom Package Design in Illustrator
By
Contents
When it comes to creating eye-catching custom packaging, Adobe Illustrator is one of the best tools to bring your vision to life. Whether you’re designing takeout boxes for a restaurant, coffee cups for your cafe, or packaging for a bubble tea shop, Illustrator offers the flexibility you need to create stunning designs. In this guide, we’ll walk you through the steps of setting up a custom package design in Illustrator, from understanding the software to bringing your unique ideas into reality. If you’re in the food and beverage industry, this article will help you create professional, brand-focused packaging that will elevate your business.
What is Illustrator?
Adobe Illustrator is a powerful vector graphics software used for creating designs like logos, illustrations, and, of course, custom packaging designs. Unlike raster-based software, Illustrator works with vector graphics, meaning your designs can be scaled to any size without losing quality. This is especially important for packaging, where your designs need to maintain sharpness across different sizes, from small bags to large boxes.
Why Illustrator?
- Precision: Illustrator’s vector tools allow you to create accurate dielines, which are essential for packaging designs.
- Scalability: The ability to work with vector graphics means your designs will look great no matter the size.
- Flexibility: Illustrator gives you complete control over shapes, colors, fonts, and other elements needed for your packaging.
If you’re in the packaging design industry or a business owner looking to create custom packaging for your restaurant, coffee shop, or bubble tea shop, Illustrator will help you craft a design that stands out and reflects your brand identity.
Why Do Custom Package Designs Matter?
When you’re in the foodservice industry, your packaging is one of the first things customers notice. Custom packaging isn’t just about wrapping your products; it’s about creating an experience. Great packaging enhances your brand and makes your product more memorable.
For restaurants, cafes, or bubble tea shops, packaging speaks volumes about the quality of your offerings. Custom packaging also provides an opportunity to express your brand’s personality through colors, logos, and graphics.
Here are some key reasons why custom package design is essential:
- Brand Recognition: Custom packaging with your logo and brand colors helps establish a strong identity.
- Customer Experience: Beautiful, functional packaging enhances your customer’s experience, whether it’s a takeout box or a drink carrier.
- Sustainability: Eco-friendly materials and creative packaging solutions can attract environmentally-conscious consumers.
With FUSENPACK, you can work with professionals to design packaging that matches your brand and meets your customers’ needs.
Key Terms in Illustrator for Packaging Design
When working with Illustrator, you’ll encounter a few important terms that are essential for creating packaging designs. Let’s break down some of the basic terminology you’ll need to know:
Dieline:Adieline is a template used in packaging design to show where cuts and folds should occur. It’s a key component for any custom package design, as it defines the structure of your package. In Illustrator, you’ll create your design inside the dieline, ensuring everything fits perfectly once cut and folded.
Bleed:Bleed is the area that extends beyond the dieline. It ensures that when the packaging is cut, there are no unwanted white edges. Bleed typically extends about 3-5mm beyond the dieline.
Safe Zone:The safe zone is the area inside the dieline where your text, logos, and important graphics should remain. Keeping these elements within this space ensures they won’t be cut off during the final production process.
Vector Graphics: Vector graphics are images created using paths, rather than pixels, making them scalable without losing quality. Since you’ll be designing a custom package in Illustrator, vector graphics are crucial for achieving high-quality, print-ready designs.
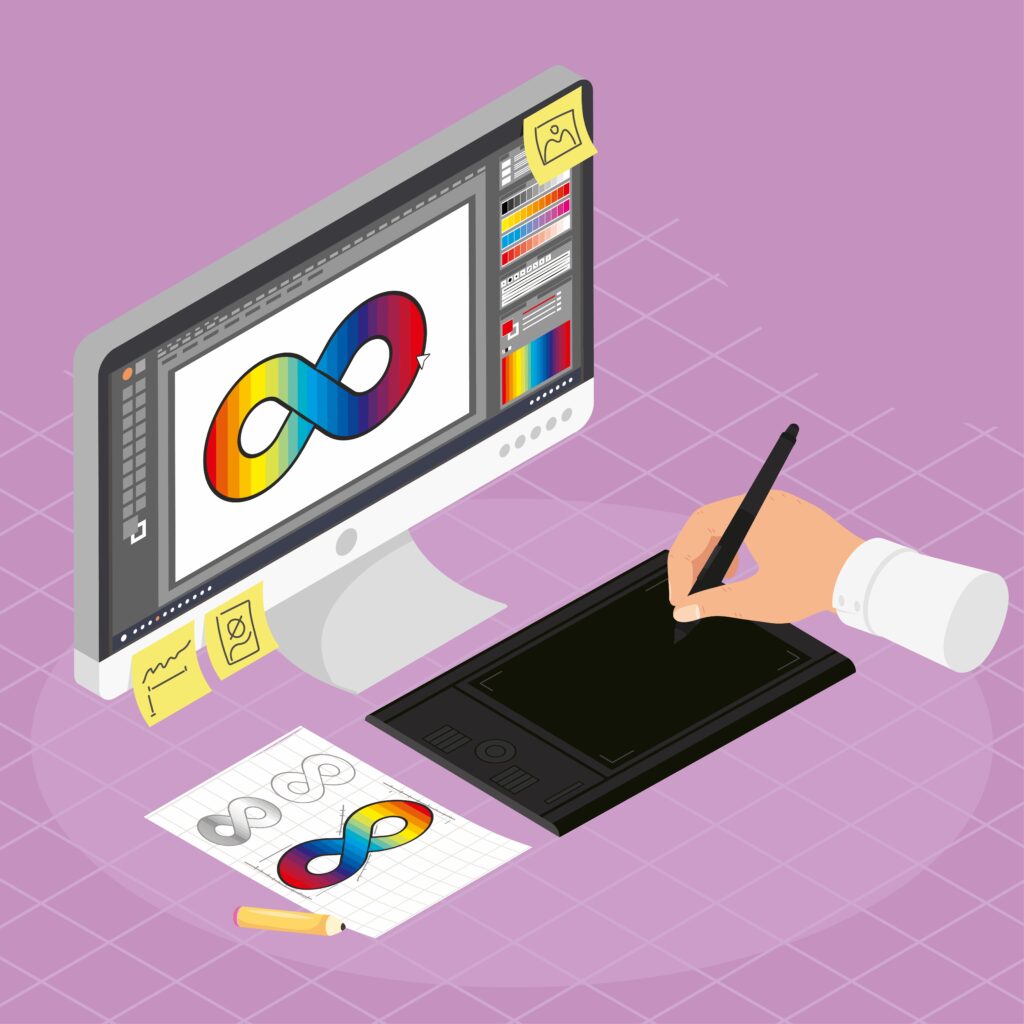
Step-by-Step Guide: How to Set Up Custom Package Design in Illustrator
Now that you understand the importance of custom packaging, let’s dive into how to set up your design in Illustrator:
- Set Up Your Document
- Create or Import Your Dieline
- Add Your Branding and Design Elements
- Add Bleed and Safe Zones
- Prepare for Special Finishes
- Finalize and Export
Step 1: Set Up Your Document
- Open Adobe Illustrator and create a new document.
- Choose the dimensions of your packaging. This will depend on the type of packaging you’re designing (a food box, drink cup, etc.).
- Set the Color Mode to CMYK because you’re designing for print.
- Set the Raster Effects to High (300 PPI) for high-quality print results.
Step 2: Create or Import Your Dieline
A dieline is a template that shows how the package is folded and cut. It’s essential for guiding your design to ensure it fits the packaging structure.
- Import your dieline if you already have one (File > Place).
- Lock the dieline layer to avoid accidentally moving or editing it (Window > Layers > Lock).
- If you don’t have a dieline, you can create your own using the Pen Tool or Rectangle Tool to draw the cut and fold lines. Make sure to use a solid line for cut edges and dashed lines for fold lines.
💡 Tip: If you’re new to packaging design, you can contact FUSENPACK for free dielines and design guidance.

Step 3: Add Your Branding and Design Elements
With the dieline locked and set, it’s time to add your brand elements. This is where you make the package unique to your business.
- Create a new layer called “Design” for your branding.
- Add your logo, brand colors, and any text (such as your tagline or product details).
- Ensure that important elements, like logos or contact information, are within the safe area to avoid trimming.
💡 Tip: Use FUSENPACK’s free design services if you need help with creating a custom layout that aligns with your brand.
Step 4: Add Bleed and Safe Zones
Bleed is the area that extends beyond the final cut edge, ensuring that there are no white borders when the design is trimmed. Safe zones are areas that should be free of critical content to avoid any chance of it being cut off.
- Set up bleed margins (usually 3mm on all sides).
- Ensure important elements (text and logos) are within the safe area (usually 5mm from the edge).
Step 5: Prepare for Special Finishes
If your design includes special finishes, like foil stamping, embossing, or spot UV, now is the time to add them.
- Create a new layer called “Special Finishes”.
- Use a unique spot color (like Pantone Magenta) for these effects and clearly label them in the document.
- Convert any effects into vector paths so they’re print-ready.
Step 6: Finalize and Export
Once you’re happy with your design, it’s time to export it for printing. Here’s how:
- Save your file as an Illustrator (.AI) or PDF.
- Ensure that the CMYK color mode and bleed settings are included.
- When exporting to PDF, select the [High Quality Print] preset.
- Under Marks and Bleeds, make sure Trim Marks and Use Document Bleed Settings are enabled.

Why Choose FUSENPACK for Your Custom Package Design?
When it comes to custom packaging, FUSENPACK stands out as the go-to partner for businesses seeking high-quality, innovative, and eco-friendly solutions. Whether you’re a restaurant, coffee shop, or a small boutique, FUSENPACK offers not just the products you need, but also the expertise to take your packaging to the next level. Here’s why FUSENPACK should be your first choice for custom package design:
AI-Powered Design Service:
One of FUSENPACK’s biggest advantages is our AI-powered design service. We leverage cutting-edge artificial intelligence to provide you with quick and efficient design options that are personalized to your brand. This means you can receive 5 free design concepts in less than 24 hours.
Seamless Integration with Your Brand Identity:
Creating a cohesive brand identity across all touchpoints is crucial. With FUSENPACK’s AI design service, we make it easy to integrate your logo, fonts, colors, and unique elements into your packaging.
Low Minimum Orders and Fast Turnaround:
FUSENPACK offers low minimum order quantities, making it perfect for small businesses and startups. You don’t need to worry about ordering large quantities right away.
Final Thoughts
Creating a custom package design in Illustrator is an exciting process, and with the right tools and guidance, you can create stunning packaging that elevates your brand. Whether you’re in the foodservice industry or another business, packaging is a powerful tool for making your products stand out.
Need help with your design? Reach out to FUSENPACK for expert assistance and start building your custom packaging today!


